-
Go to Settings > Connections

-
Click the Add Connection button

-
In the popup, select Reckon Accounts Hosted
-
Enter a label for the connection - this can be anything that makes it easy to distinguish between any connections.

-
Click Add
-
You will be taken to the new connection setup
Connecting to Reckon Accounts Hosted
-
Click the Connect your Reckon Accounts Hoste accounts
-
This will take you to the RAH login and authorization page

-
Use your RAH credntials to login and follow the prompts to authorize Wbsync

-
Once you have successfully authorised Wbsync, you will be returned to the settings
-
You will also be able to select the company file you want to connect to using the Reckon Company File dropdown

-
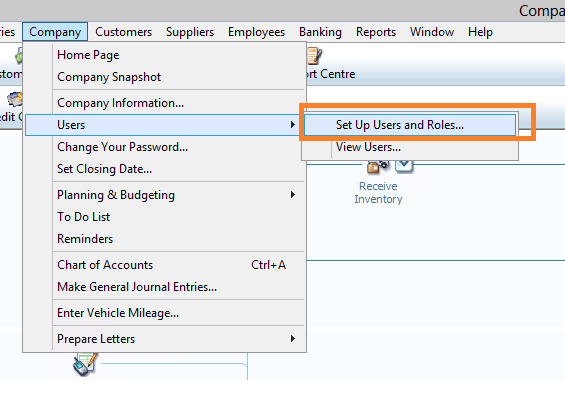
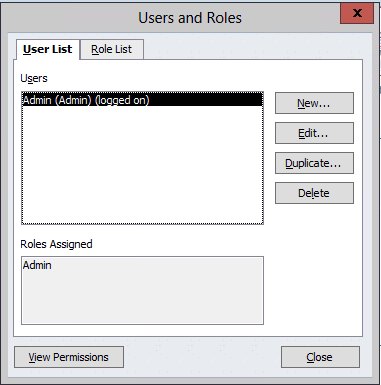
In the same company as selected in the Reckon Company File dropdown, setup a user for Wbsync to connect to RAH through
-
the steps below outline how to add a user to Reckon.
- Ensure they have full access
- A suggested username is Wbysnc (but this can be anything you like). Remeber to define a strong password
-
Enter these details into the respective "Reckon Company File Username" and "Reckon Company File Password"
-
Click save to save the details. The page will reload and you should see your details